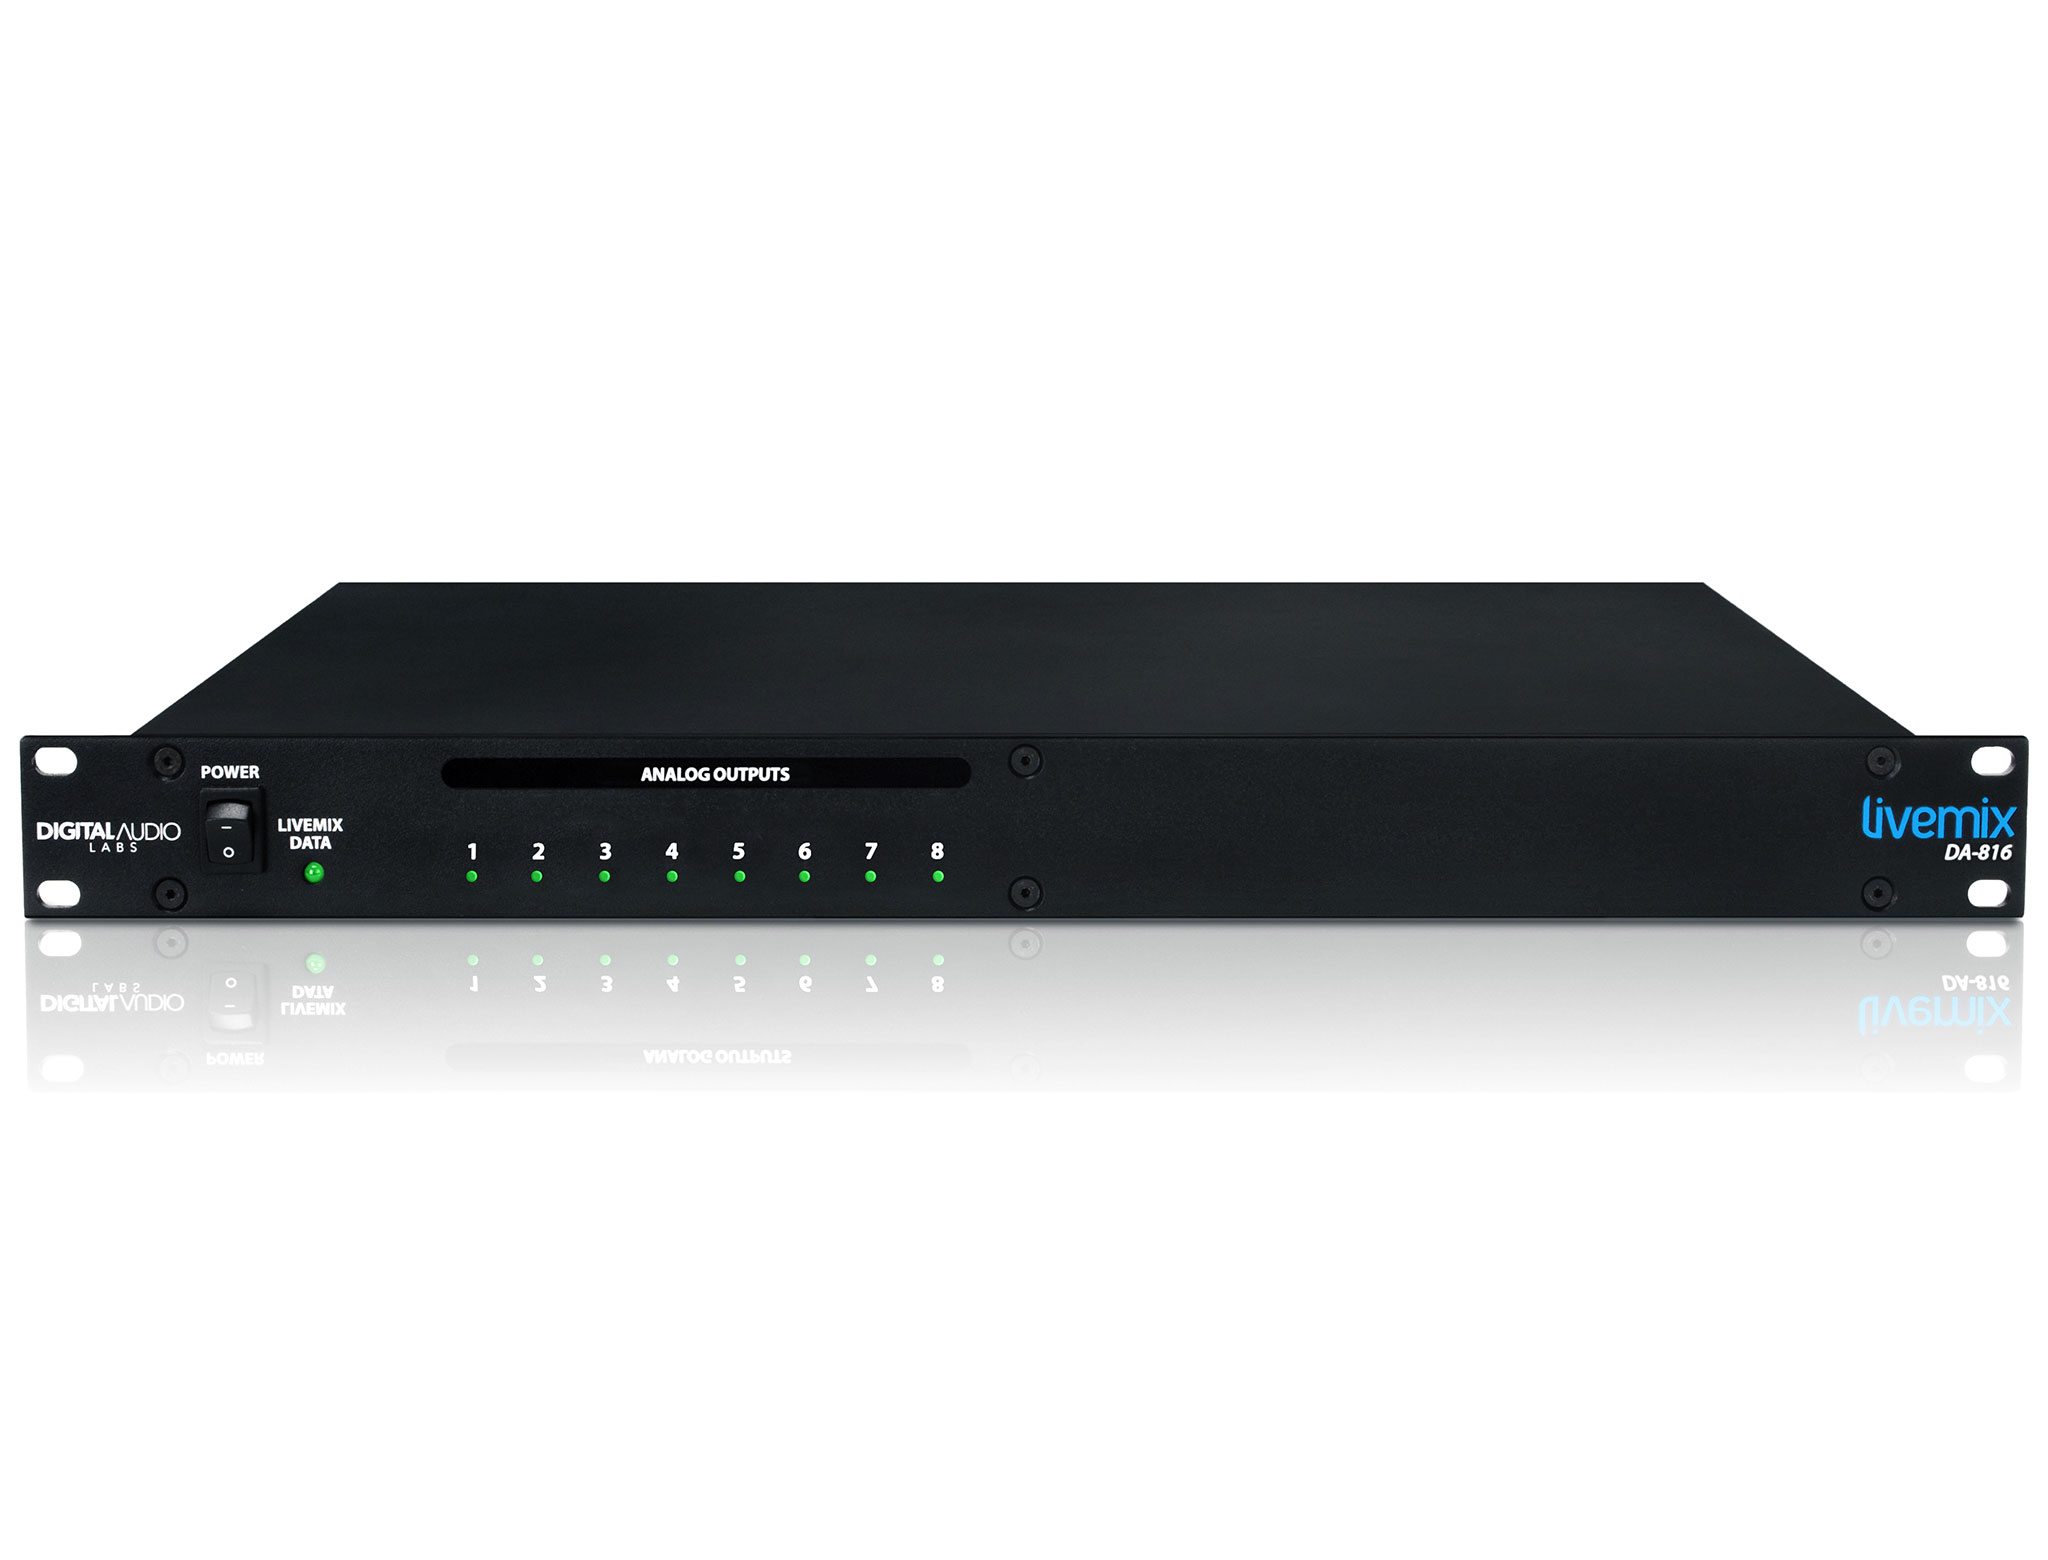
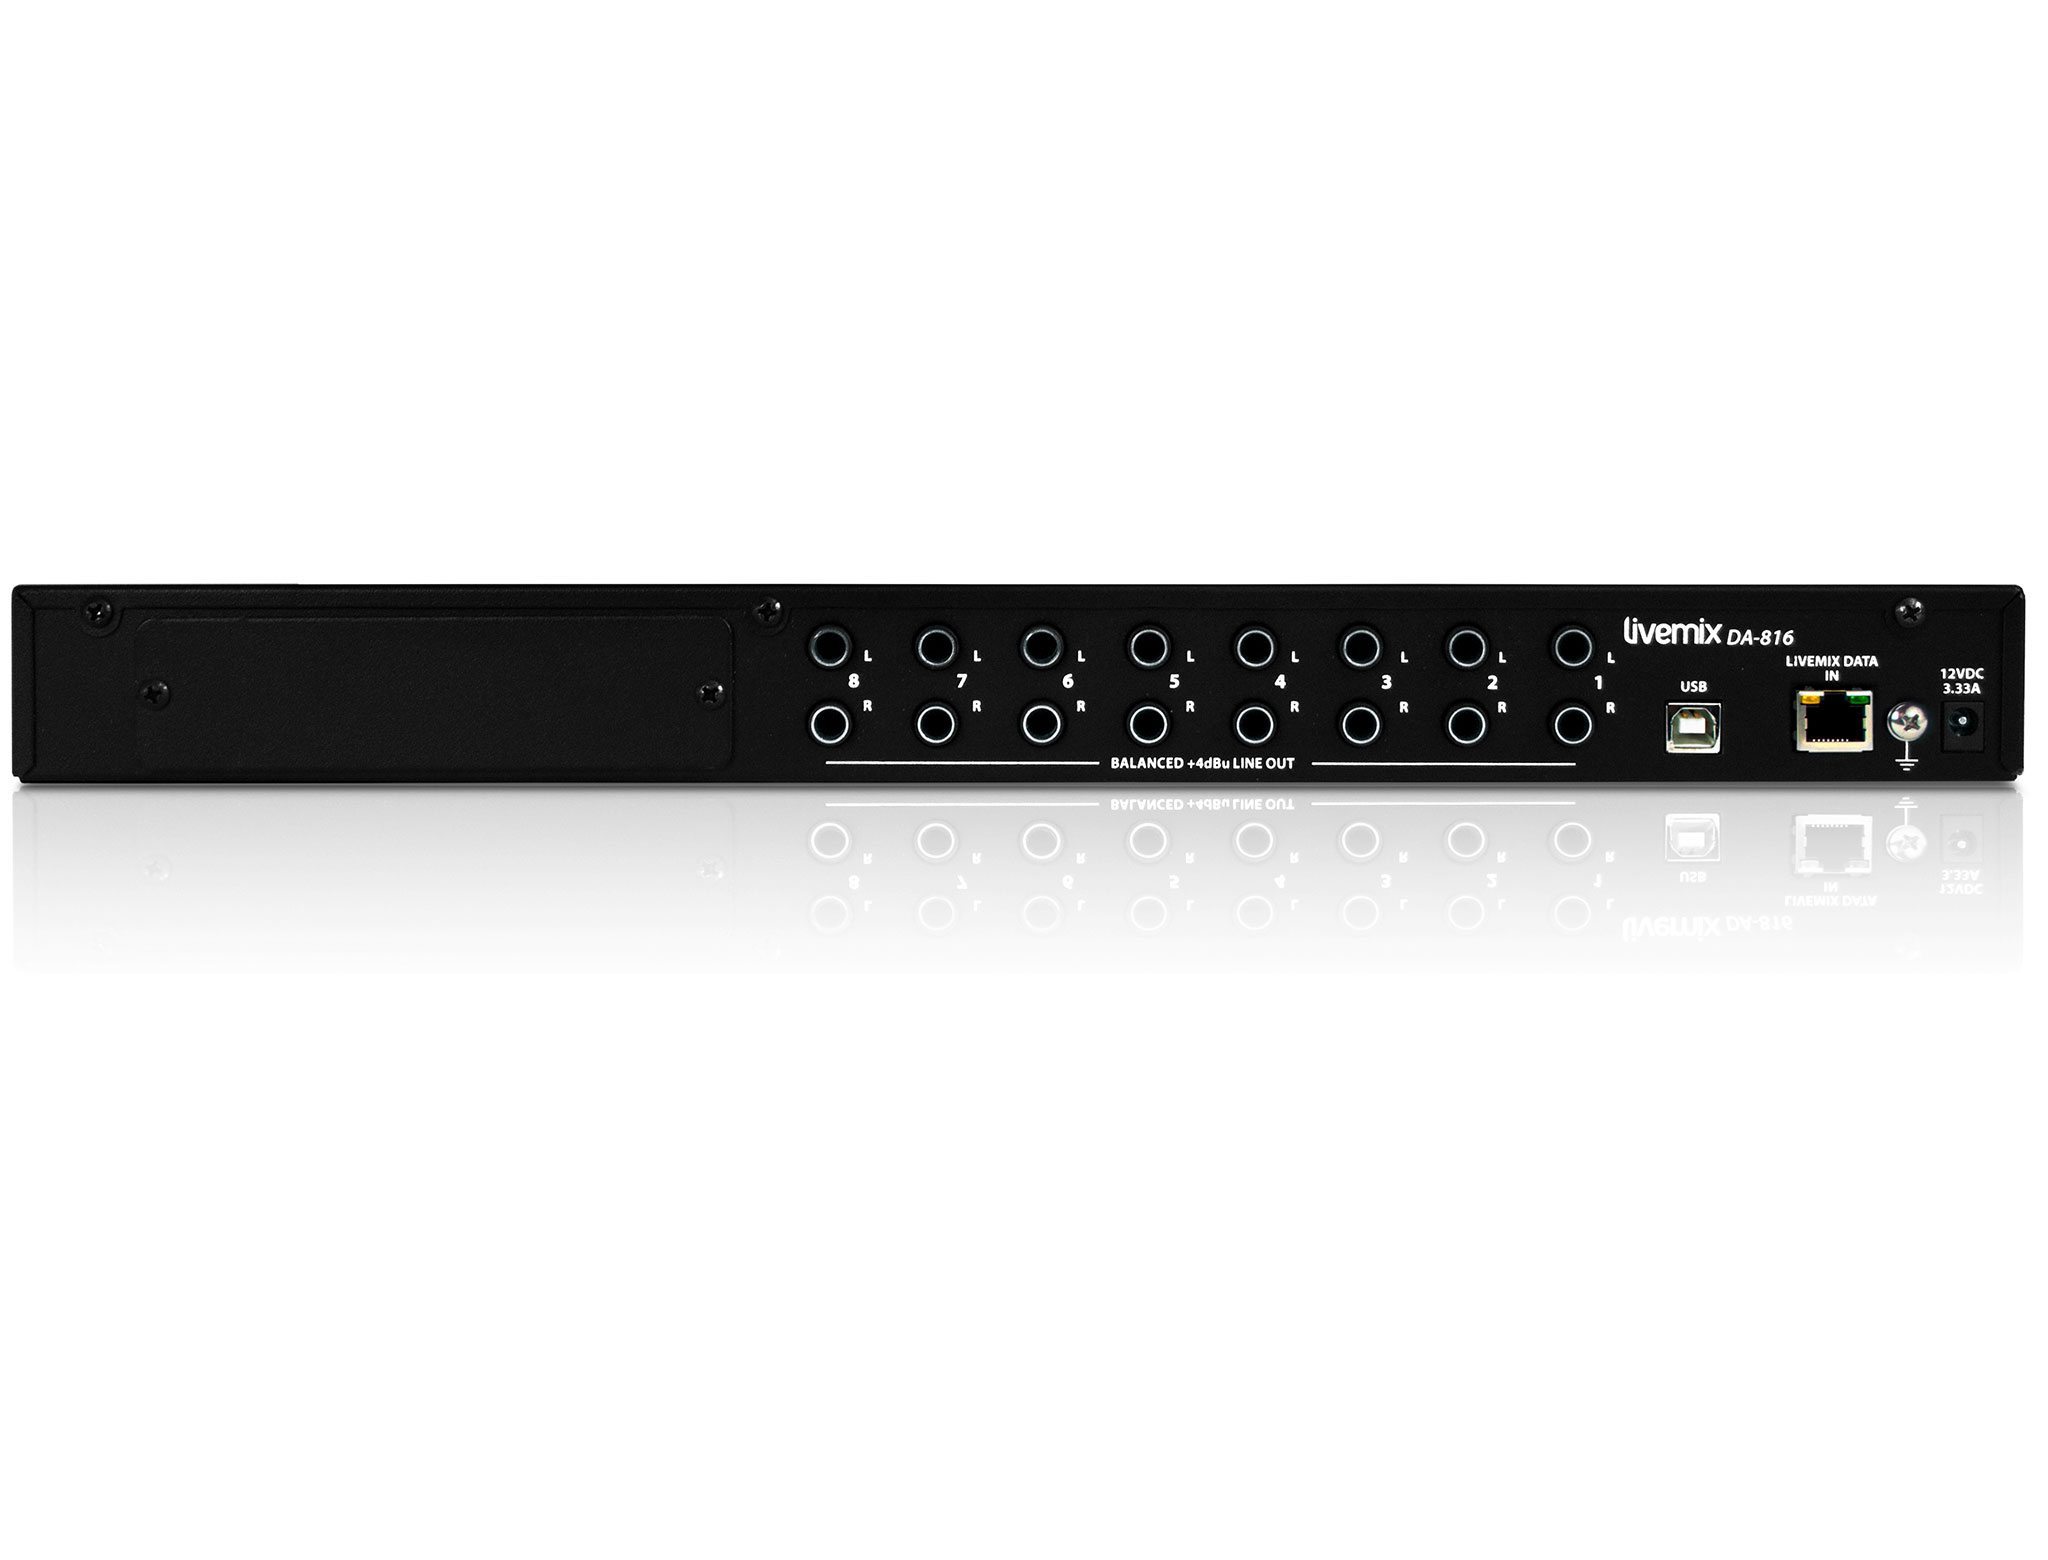
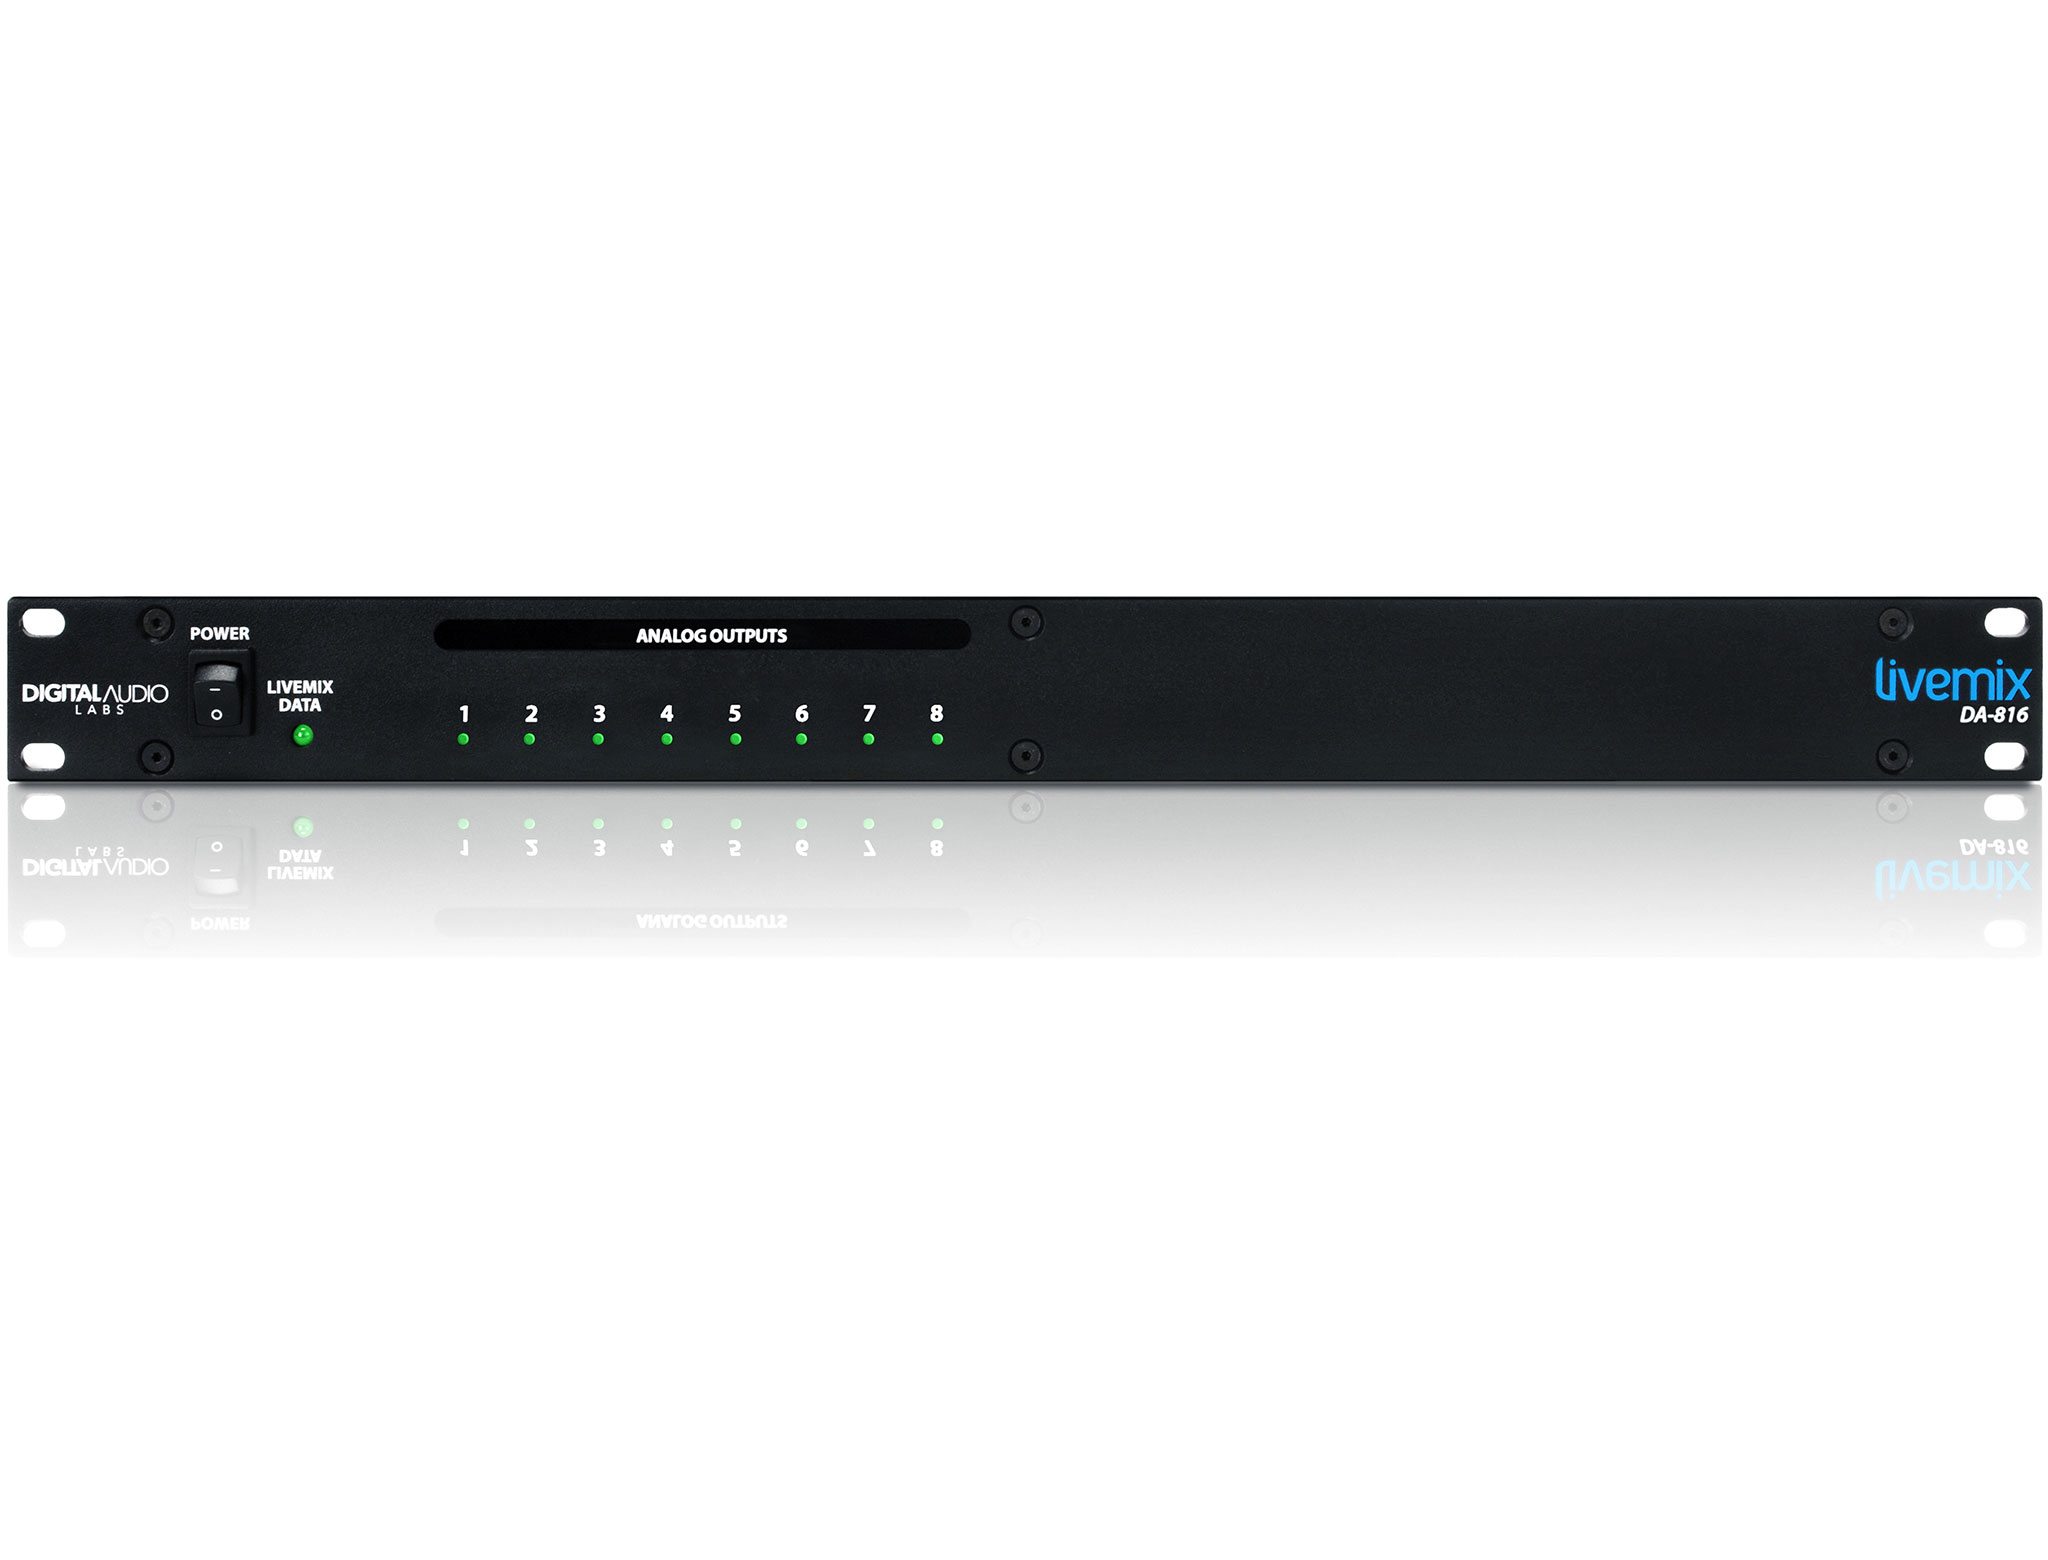
The DA-816 output rack unit is for connecting to wireless in-ear transmitters, powered monitors or powered house speakers. The DA-816 connects to the MIX-16 or MIX-32 via shielded CAT5e network cable. Each DA-816 provides eight stereo TRS outputs. The DA-816 provides stereo balanced outputs for 8 personal mixes. Flexible SoftRoute™ mix assignments and test tone capabilities, make for quick setup. Front panel LEDs indicate a personal mix is assigned to one or more of the outputs. When the Output ID feature is enabled and an output is selected, the front panel LED illuminates and a test tone is sent to the output.
FEATURES

16 balanced TRS outputs in stereo pairs
The 16 balanced TRS outputs on the DA-816 provide stereo outputs for up to 8 Livemix mixes.

Easy setup from CS-DUO personal mixer with SoftRoute
Seamlessly assign mixes to wireless in-ear monitors using SoftRoute™ on the Livemix CS-DUO or CS-SOLO personal mixers.

Output ID with Indicator LED
The Output ID makes it easy to identify devices connected to DA-816 outputs. When engaged, a front panel LED flashes and a test tone is sent through the selected output. No more digging behind the rack to find out what output is connected to what transmitter.

Option Card Slot
For future compatibility, an option card slot is included on the back of the DA-816. This insures that the Livemix system always stays current with new technologies.
| LIVEMIX DA-816 | |
|---|---|
| THD+N | .0019% |
| S/N Ratio | 104 dB |
| Full Scale Output | +4 dBu/19 dB peak |
| Output Impedance | 300Ω |
| Max cable length to MIX-16/MIX32 | 100m CAT5e cable (shielded required) |
A switch is not required for a Dante Network. You can connect the LM-DANTE card directly to the Dante output of the console. It is recommended that if you use a switch, you adhere to the Audinate requirements for a switch.
As of Livemix version 4.0, the Dante Controller is required for setting up Livemix on the Dante Network. Versions prior to 2.15 do not require the Dante Controller, although it’s use is recommended. You will also need to use Dante Controller to set the Master Clock for the Dante Network. See the LM-DANTE User Guide pg. 8 for assigning Dante Channels.
We recommend to make the Master clock the console or Dante card in the console. NOTE: There are two ways this can be done. 1) Set the console’s internal clock as Master, then using Dante Controller, set the console’s Dante card as Master clock (for the Dante Network) and also check box “Sync to External”. This will allow the card to stay synched to the console’s master clock. 2) Set the console’s internal clock to be slave of the console’s Dante card. Using Dante controller, set the console’s Dante card as Master clock.


